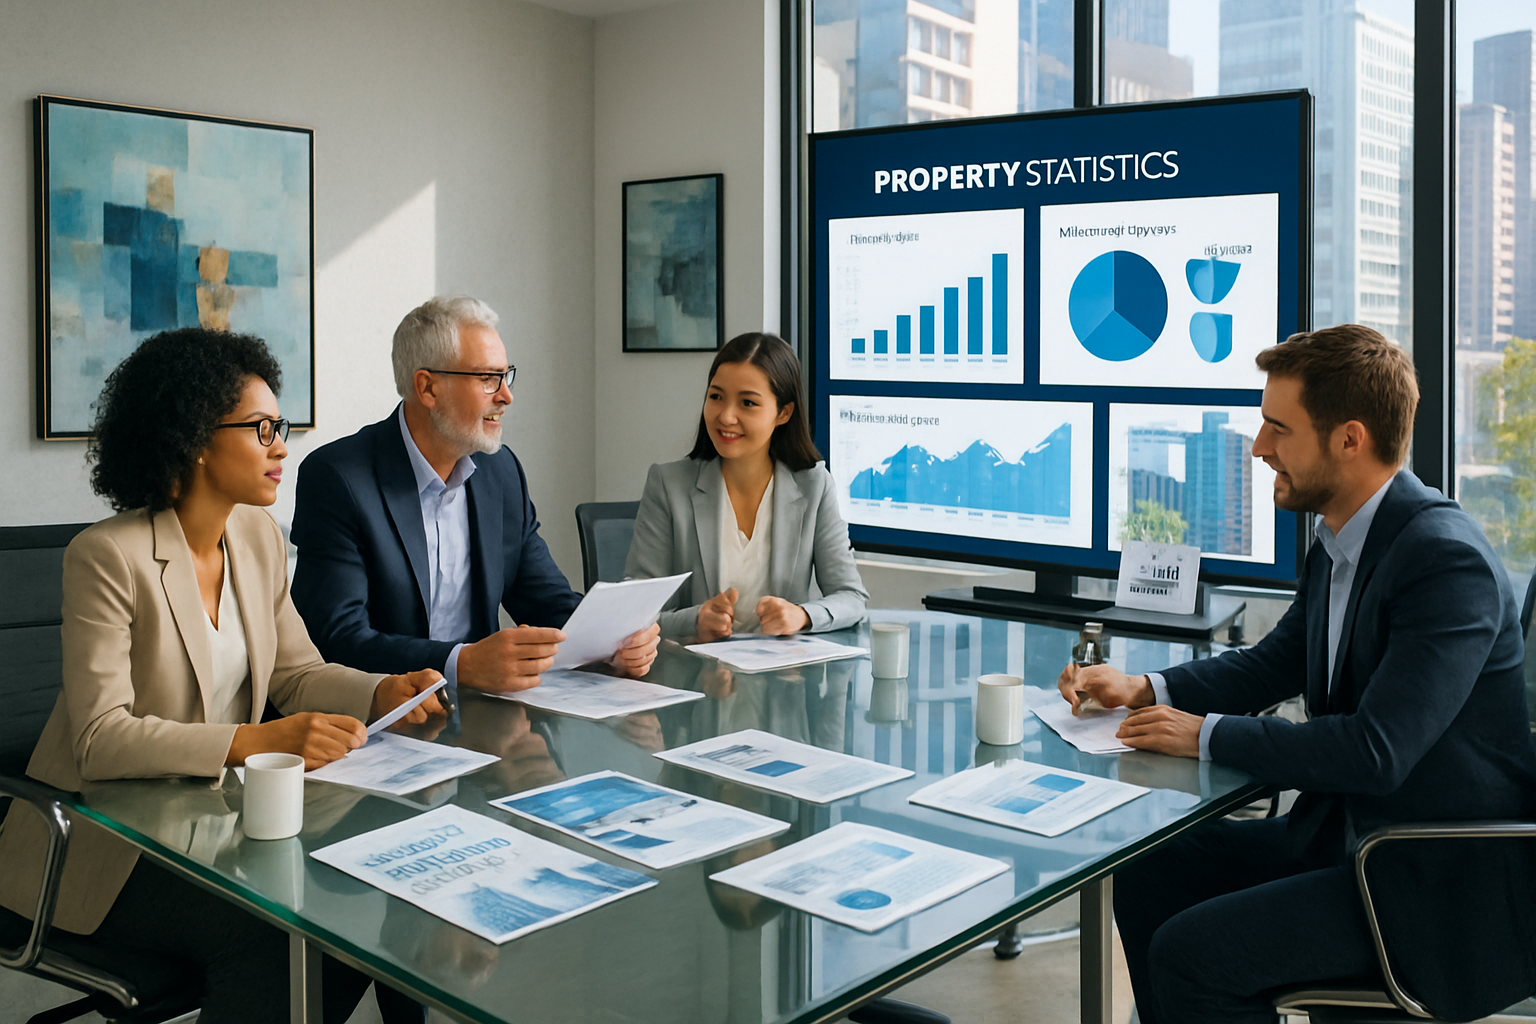
In real estate transactions, the quality of property photography is an important factor that directly affects closing rates.
From my experience in numerous real estate transactions as INA & Associates, I can tell you that good real estate photography maximizes the appeal of a property and effectively arouses the interest of prospective buyers and tenants.
In today's real estate market, property searches are dominated by Internet searches, and the first thing many people see is a photo of the property.
This first impression is the decisive factor in determining whether or not the property will actually lead to a viewing.
In this article, we will introduce five key techniques that will dramatically improve your chances of success in selling or renting a property, based on the know-how we have developed as professionals in property photography.
By mastering these techniques, you will be able to properly communicate the value of your property and attract more prospective buyers.
5 Key Techniques for Property Photography
1. Lighting Techniques: Photography Techniques that Maximize the Use of Natural Light
Real estate photographic lighting is one of the most important elements in bringing out the best in a property.
Proper use of light can make interior spaces appear brighter and more open, creating a favorable impression on potential buyers.
Selecting the Optimal Photography Time of Day
Choosing the right time of day to shoot is extremely important to effectively utilize natural light.
Generally speaking, the most ideal shooting time is between 10:00 am and 2:00 pm.
During this time of day, the sun is high in the sky and the light is even and soft inside the room, resulting in bright photos with few shadows.
Especially for south-facing properties, photographing during this time of day will fill the entire room with natural brightness, effectively expressing the expanse of space.
By selecting early morning for east-facing properties and late afternoon for west-facing properties, it is possible to take advantage of the characteristics of each direction.
Effective combination with artificial lighting
When natural light alone is not sufficient, artificial lighting can be used as a supplement.
By turning on all lighting fixtures in the room, shadow areas can be brightened and overall balance can be achieved.
However, since mixing light sources of different color temperatures may cause color blurring, white balance adjustment is necessary when shooting.
When using LED lighting, select daylight (5000K to 6500K) to harmonize with natural light.
In addition, the use of reflectors or diffusers can control the direction of light to achieve a more even lighting effect.
Shadow Treatment and Light Direction
Shadow processing is a particularly important technique for property photography tips.
When strong direct sunlight shines into a room, the contrast may be too strong, making it difficult to see details.
In these situations, moderate adjustment of curtains or blinds to diffuse the light can create a soft lighting effect.
If there are multiple windows, the light from each window should be balanced, and if necessary, some windows can be shaded to achieve more even lighting.
| Time of day for shooting | Characteristics of light | Applicable Properties | Points to note |
|---|---|---|---|
| 8-10 AM | Soft and warm light | East-facing properties | Beware of shadows on the west side |
| 10 a.m. - 2 p.m. | Even and bright light | South-facing properties | Optimal shooting time |
| 2-4 p.m. | Slightly stronger light | West-facing properties | Pay attention to contrast |
| After 4 p.m. | Warm light | Property with beautiful sunset | Need to adjust color temperature |
2. Composition and Angles: Photography Techniques to Maximize the Appeal of Space
Property photo composition is an important technique for making a limited space appear larger and effectively conveying the characteristics of the property.
By choosing the right composition and angles, you can create the impression that the space is more attractive than it actually is.
Effective Use of Wide-Angle Lenses
A wide-angle lens is an essential tool for property photography equipment.
Generally, ultra-wide-angle lenses between 14mm and 24mm (full-size equivalent) can be used to capture an entire room in a single shot, even in a small interior.
The use of a wide-angle lens emphasizes the depth of the room, giving the impression of more space than is actually there.
However, because of the distortion inherent in wide-angle lenses, it is necessary to be aware of horizontal and vertical lines when taking pictures, and to take pictures with the assumption that distortion will be corrected in post-processing.
In particular, when shooting using the corners of a room, the spatial expanse can be expressed to the fullest extent by placing the lens on the diagonal lines.
Optimization of Shooting Height and Viewpoint
Shooting height is an important factor that greatly affects the impression of a property.
Generally, it is recommended to shoot at a height of 120cm to 150cm from the floor.
This height is close to the natural viewpoint from which people actually look around the room and provides an angle of view that is comfortable for the viewer.
In properties with high ceilings, shooting from a slightly lower position can emphasize the height of the ceiling and create a sense of openness.
Conversely, for properties with low ceilings, shooting from a slightly higher position can reduce the sense of oppression.
In addition, for spaces with three-dimensional structures such as staircases and stairwells, it is effective to photograph from multiple heights to express the characteristics of the space from multiple angles.
Maintaining Horizontal and Vertical Lines and Spatial Balance
As a real estate photography technique, accurately representing the structural lines of a building is extremely important from the standpoint of authenticity.
Tilted lines on walls, floors, and ceilings can give the viewer a sense of uneasiness and reduce the viewer's confidence in the property.
When taking photographs, the camera's level function should be utilized to ensure that the horizontal and vertical lines are accurately maintained.
In addition, taking into consideration the balance of the placement of furniture and equipment in the room and composing the photo with the flow of the eye in mind will make the photo more appealing.
Particularly in the living room and dining room, the placement of furniture greatly affects the impression of the space, so it is important to consider optimal placement during the preparation stage prior to shooting.
| Shooting Angle | Effect | Applicable scene | Points to note |
|---|---|---|---|
| Low angle (100-120cm) | Emphasize ceiling height | Vaulted ceilings, high ceilings | Furniture looks larger |
| Standard angle (120-150cm) | Natural perspective | General living room | Most versatile |
| High angle (150-180cm) | Reduction of oppressive feeling | Low ceilings, narrow spaces | Be careful not to be too overhead |
| Diagonal composition | Emphasizes the expanse of space | Corner shots | Distortion correction is necessary |
3. Interior Preparation and Styling: Creating Space to Enhance Property Value
One of the most important factors in determining the quality of a property photograph is the preparation of the room prior to shooting.
Proper styling can maximize a property's potential appeal and increase a prospective buyer's willingness to purchase.
The Importance of Tidying and Cleaning
Cleaning and organizing before a shoot is a fundamental part of real estate photography.
No matter how good the photographic technique, a messy room or dirty facilities will not properly convey the value of the property.
Floor surfaces should be kept free of any personal items, and countertops and table tops should be completely tidy.
In particular, the kitchen, bathrooms, and other water areas must be thoroughly cleaned and completely free of water droplets, soap scum, and other contaminants, as cleanliness is of the utmost importance.
Cleaning of windows is also an important aspect that should not be forgotten.
Dirty window glass prevents light from penetrating into the interior, giving the overall impression of darkness.
By cleaning the outside as well as the inside and maximizing transparency, natural light can be effectively utilized.
Optimize furniture placement
If there is existing furniture, adjust its placement to make the space appear most spacious.
Furniture can be moved closer to the walls to create a sense of openness by allowing sufficient space in the center of the room.
Large furniture such as sofas and tables should be placed in consideration of the angle from which they will be photographed, and care should be taken to avoid obstructing the line of sight.
The orientation of furniture is also an important factor.
Sofas should be positioned facing the room to help the viewer visualize the occupants' lives, thereby promoting the viewer's emotional involvement.
Simple tableware and floral arrangements can be placed on the dining table to create both a lived-in and elegant atmosphere.
Effective Use of Home Staging
If the property is vacant, home staging techniques can greatly enhance the property's appeal.
Minimal furnishings and décor can help prospective buyers visualize real-life living conditions, leading to higher closing rates.
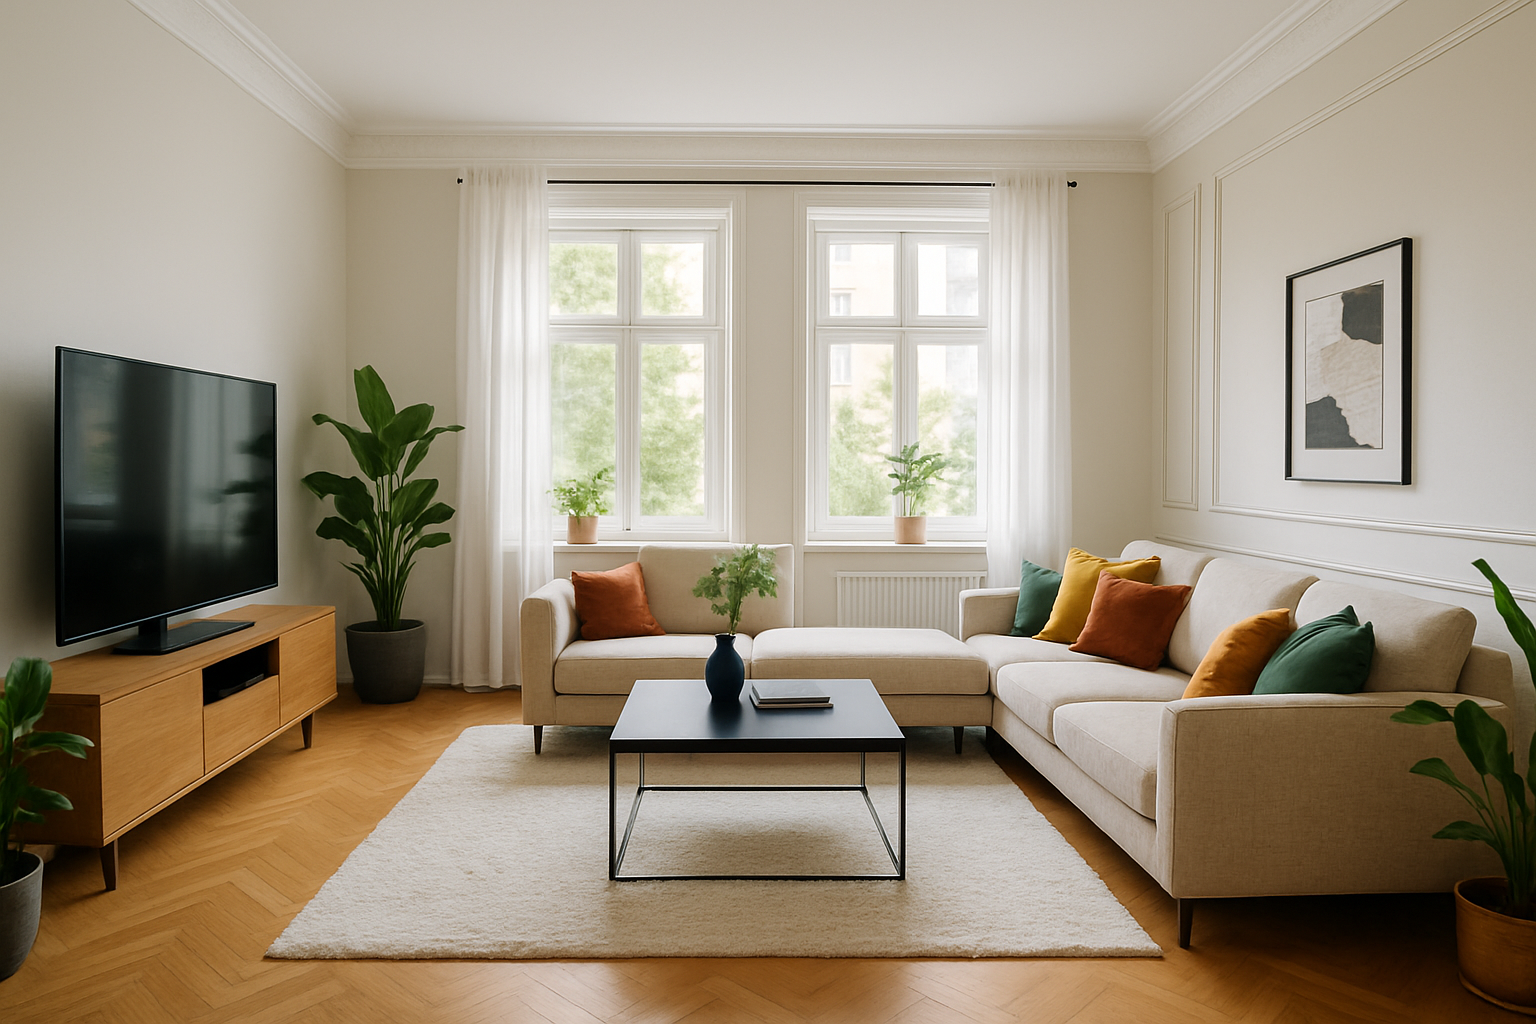
In the living room, a modern sofa, coffee table, and decorative plants create a warm and inviting atmosphere.
In the bedroom, clean bed linens, a side table, and indirect lighting will help to show that the space is relaxing.
In the kitchen, accessories such as fruit bowls and coffee makers will be placed to express practicality and the richness of life.
| Room Type | Preparation Required | Recommended items | Elements to avoid |
|---|---|---|---|
| Living room | Optimal furniture arrangement | Houseplants, cushions | Personal photos, magazines |
| Kitchen | Complete cleaning | Fruits, flowers | Cooking utensils, food |
| Bedroom | Bed making | Indirect lighting, books | Personal effects, laundry |
| Bathroom | Thorough cleaning | Towels, toiletries | Personal items, medicine |
4. Equipment Selection and Setup: The Technical Foundation for Professional Photography
The selection and proper setup of property photography equipment is the technical foundation for high-quality real estate photography.
Investing in equipment and acquiring technical knowledge will set you apart from your competitors.
Camera and Lens Selection Criteria
The best camera for real estate photography is a full-size sensor DSLR or mirrorless camera with high resolution and excellent dynamic range.
Selecting a camera with a resolution of at least 24 megapixels will produce high-quality images that can be used for large-format printing.
As for lenses, a 14mm-24mm ultra-wide-angle zoom lens is the most versatile and can be used for a variety of indoor spaces.
If a single focal length lens is used, a focal length of 16 mm or 20 mm is recommended.
In addition, selecting a model with lens distortion correction and image stabilization features will improve shooting efficiency and image quality.
The use of a tilt-shift lens is also worth considering when photographing high-end properties.
This lens allows the photographer to accurately maintain the vertical lines of the building, resulting in high-quality results that more closely resemble architectural photographs.
Optimizing Shooting Settings
Camera settings should be fine-tuned according to the shooting environment and purpose.
ISO sensitivity should be set as low as possible to prioritize image quality, generally in the range of ISO 100 to 400.
The aperture (f-number) should be set between f/8 and f/11 to take advantage of the lens' best performance range and to obtain sharp images across the entire image.
The shutter speed should be set to a value that provides adequate exposure, assuming a tripod is used.
When shooting HDR (High Dynamic Range), take multiple shots with different exposures and combine them in post-processing to create an image that retains detail even in an indoor environment with large differences in brightness and darkness.
Use of Tripods and Auxiliary Equipment
A tripod is an essential piece of equipment for property photography.
Stable shooting produces sharp images and allows multiple photos to be taken in the same composition.
Choosing a lightweight, rigid tripod made of carbon fiber will reduce the burden of carrying a tripod while ensuring stable shooting.
The use of a release cable or wireless remote control will completely prevent camera shake.
In addition, auxiliary equipment such as a level and angle finder can be utilized for more accurate composition.
As for lighting equipment, prepare LED panel lights and strobes for use as supplemental lighting when natural light is insufficient.
| Equipment Category | Recommended Specifications | Price Range | Effect |
|---|---|---|---|
| Camera Body | Full size, 24 megapixels or more | 150,000-500,000 yen | High image quality, low noise |
| Wide-angle lens | 14-24mmF2.8 | 100,000-300,000 yen | Expression of space |
| Tripod | Carbon tripod with a load capacity of 3kg or more | 30,000-100,000 yen | Stability, precision |
| Lighting equipment | LED panel, color temperature adjustable | 20,000-80,000 yen | Auxiliary lighting, shadow reduction |
5. Post-processing and Editing Techniques: Quality Improvement and Optimization after Shooting
Real estate photo editing is an important process that ultimately determines the quality of the captured images.
With proper post-processing, you can overcome the limitations of the shoot and maximize the appeal of the property.
Color Correction and Exposure Adjustment
Images shot in RAW format allow for a wider range of adjustments in post-processing to achieve higher quality results.
First, adjust the white balance to set a natural color temperature.
Since multiple light sources are often mixed in indoor photography, it is important to select the color temperature that looks most natural.
Exposure adjustment improves the overall tonal balance by suppressing white-out in highlights and improving black-out in shadows.
Contrast adjustment gives the image more body and a more striking finish.
Saturation should be adjusted sparingly to maintain natural tones.
Excessive saturation may give an unrealistic impression and create a discrepancy with the actual property.
Lens distortion correction and perspective adjustment
Barrel distortion characteristic of wide-angle lenses can be corrected using dedicated software.
Professional software such as AdobeLightroom and CaptureOne have built-in profiles for major lenses and can automatically apply distortion correction.
Correcting vertical distortion (trapezoidal distortion) is another important task.
If the vertical lines of a building are tilted, they can be corrected using the keystone correction feature.
However, it is important to keep the adjustment moderate, as excessive correction can cause unnatural stretching at the edges of the image.
Perspective adjustment emphasizes the depth of a room and effectively expresses the expanse of space.
HDR processing and compositing technology
HDR (High Dynamic Range) processing is effective for rooms with large differences in brightness and darkness.
By combining multiple images taken at different exposures, it is possible to achieve proper exposure in all areas, from the view outside the window to the darkest parts of the room.
In HDR processing, it is important to keep the result natural and avoid unrealistic images due to excessive processing.
By properly adjusting the tone mapping settings and maintaining a balance between contrast and saturation, you can create natural-looking images that do not cause discomfort to the viewer.
In addition, the ghost removal function can be used to minimize the effects of objects that have moved during the shooting interval.
| Editing Process | Software used | Adjustment Items | Points to note |
|---|---|---|---|
| Basic Correction | Lightroom, CaptureOne | Exposure, Contrast, Saturation | Focus on natural-looking results |
| Distortion correction | Photoshop,DxOViewPoint | Barrel distortion, trapezoid distortion | Avoid excessive correction |
| HDR processing | Photomatix,AuroraHDR | Tone mapping, ghost removal | Preserve reality |
| Final adjustments | Photoshop | Sharpness, noise reduction | Adjustment according to output size |
Summary: Practice and Results of Property Photography Techniques
We have introduced five important techniques for property photography.
By systematically learning and practicing these techniques, you can maximize the appeal of a property and significantly improve the probability of success in selling or renting it.
Specific benefits of acquiring the techniques
Proper lighting techniques can create a bright and open interior space and improve the first impression on prospective buyers.
Optimization of composition and angles can make limited space appear larger and effectively convey the characteristics of the property.
Interior preparation and styling can reveal the potential value of the property and promote viewer empathy.
Optimized equipment selection and settings can deliver professional-level image quality, differentiating you from your competitors.
Post-processing and editing techniques can overcome the limitations of the shoot and improve the final image quality.
Importance of Continuous Technical Improvement
Real estate photography technology improves through continuous learning and practice.
It is important to keep up to date with market trends and technological advances.
In addition, the effectiveness of the technology can be objectively evaluated by quantitatively measuring the effectiveness of the photographs taken and analyzing changes in closing rates and the number of inquiries.
Next Steps
By putting these techniques into practice and improving the quality of your property photography, you can provide better service to your clients and grow your business.
At INA&Associates, we are committed to helping our clients achieve success in their real estate transactions through these technological initiatives.
If you have any questions about property photography or real estate transactions, please do not hesitate to contact us.
With our expertise and experience, we can help you maximize the value of your valuable asset.
Frequently Asked Questions
Q1:What is the minimum equipment required for property photography?
A: The minimum equipment required is a digital camera with a wide-angle lens and a tripod.
A smartphone can provide a certain level of quality, but for professional results, we recommend a camera with a full-size sensor and a 14-24 mm wide-angle lens.
A tripod is essential for stable shooting, and a lightweight model made of carbon fiber is easy to carry.
As supplemental lighting, an LED panel light is useful when natural light is insufficient.
Q2: How long does it take to photograph and how much does it cost?
A: For a typical house (about 3LDK), it takes about 2-3 hours to photograph.
The standard time allocation is one hour for preliminary cleaning and preparation, 1-2 hours for the actual shooting, and 1-2 hours for post-processing.
Regarding costs, an initial investment in equipment (approximately 500,000-1,000,000 yen) is required for in-house filming, while the market rate for hiring an outside professional is approximately 30,000-100,000 yen per property.
From a long-term perspective, acquiring the technology in-house is cost-effective.
Q3:Is there any difference in the method of photographing vacant and occupied properties?
A: The approach to photographing vacant and occupied properties is very different.
In the case of vacant rooms, home staging allows us to create an ideal space, which allows us to shoot with a higher degree of freedom.
For occupied properties, we take advantage of the existing furniture arrangement, while retaining a moderate sense of livability.
In the case of an occupied property, it is more important to be organized prior to the shoot, and personal items may need to be temporarily moved or rearranged.
In addition, care should be taken to ensure the privacy of the occupants and that no personally identifiable items are included in the photographs.
Q4:Will the season or weather affect the photographs?
A:Season and weather can have a significant impact on the quality of property photography.
Spring and fall are the best seasons for photography because of the soft natural light.
Summer tends to bring strong contrast due to strong sunlight, but early morning and evening shootings provide better conditions.
Winter tends to have short daylight hours and insufficient light, but effective use of artificial lighting can help.
In rainy weather, natural light is scarce, so photographing should be postponed or adequate artificial lighting should be provided.
Cloudy weather is actually a good condition for photography because it provides even and soft light.
Q5:What about copyrights and usage rights for the photographs taken?
A: As a general rule, the copyright of a property photograph taken belongs to the photographer.
If a real estate company takes the photos in-house, the company retains the copyright and can freely use them in its marketing activities.
If an outside photographer is commissioned, it is important to clearly define the scope of usage rights at the time of contract.
Generally, the usage rights are limited to real estate sales and leasing activities, and other commercial uses are discussed separately.
It is also necessary to obtain prior consent from the property owner for the photography and use of the property.

Daisuke Inazawa
Representative Director of INA&Associates Inc. Based in Osaka, Tokyo, and Kanagawa, he is engaged in real estate sales, leasing, and management. He provides services based on his extensive experience in the real estate industry. Based on the philosophy that “human resources are a company's most important asset,” he places great importance on human resource development. He continues to take on the challenge of creating sustainable corporate value.

.png)

